Popular Post
Showing posts with label edible images. Show all posts

Saturday, March 12, 2011

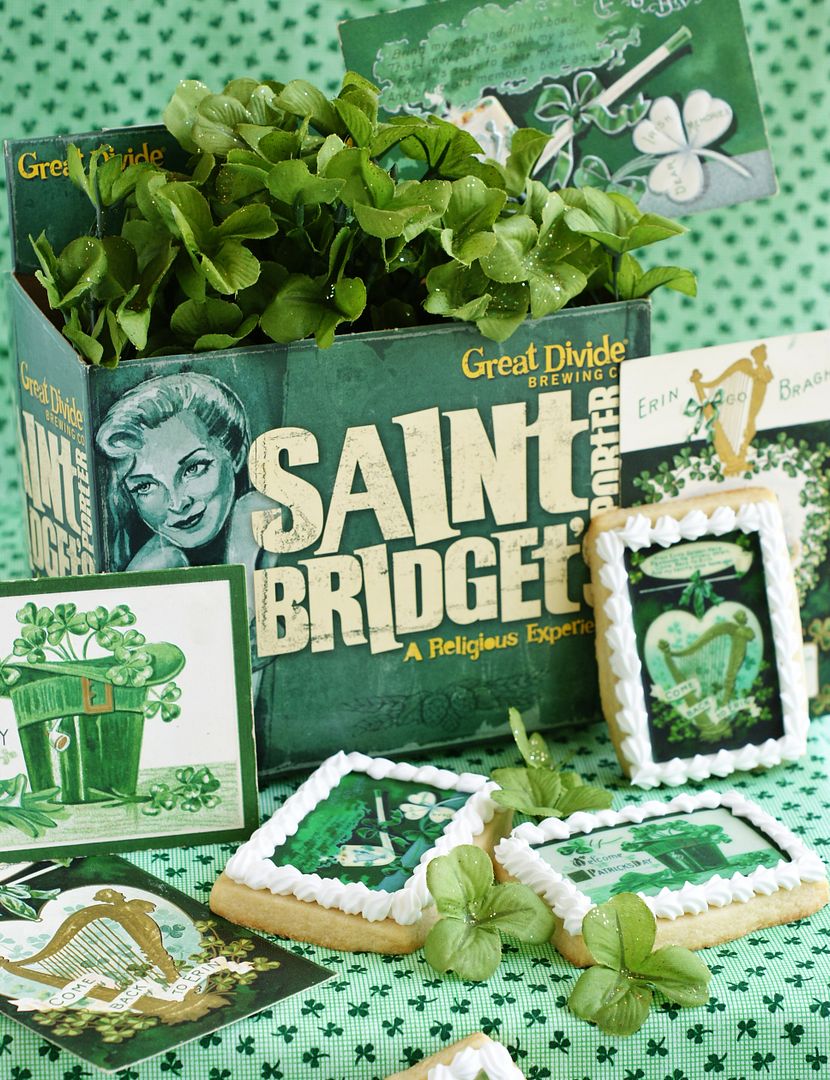
Vintage St. Patrick's Day Postcard Cookies

Speaking of edible images....

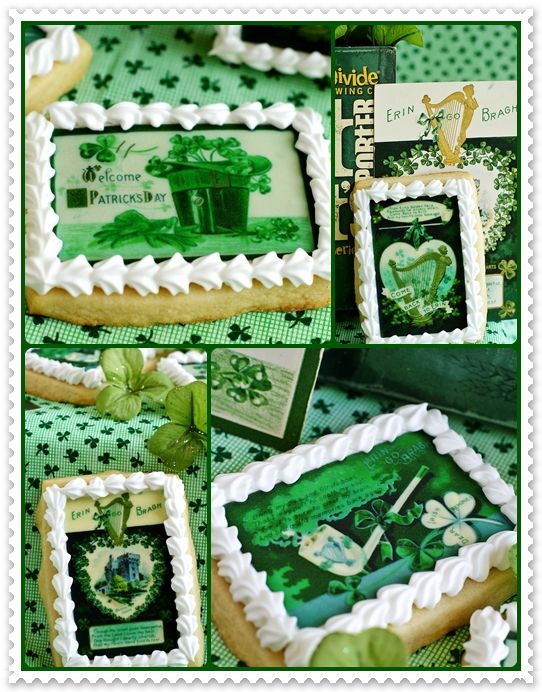
Printing vintage images and pictures is my favorite way to use the icing printer.  I LOVE vintage postcards....the artwork, the verses....they are so sweet!  So I scanned some old St. Patrick's Day postcards and printed them on frosting sheets.

Curious to try themI uploaded the images to Scribd just for you!  Download the document and crop and resize until you get them the size that you would like.  Then, follow the tips for printing, either at home, or at a shop with an icing printer.

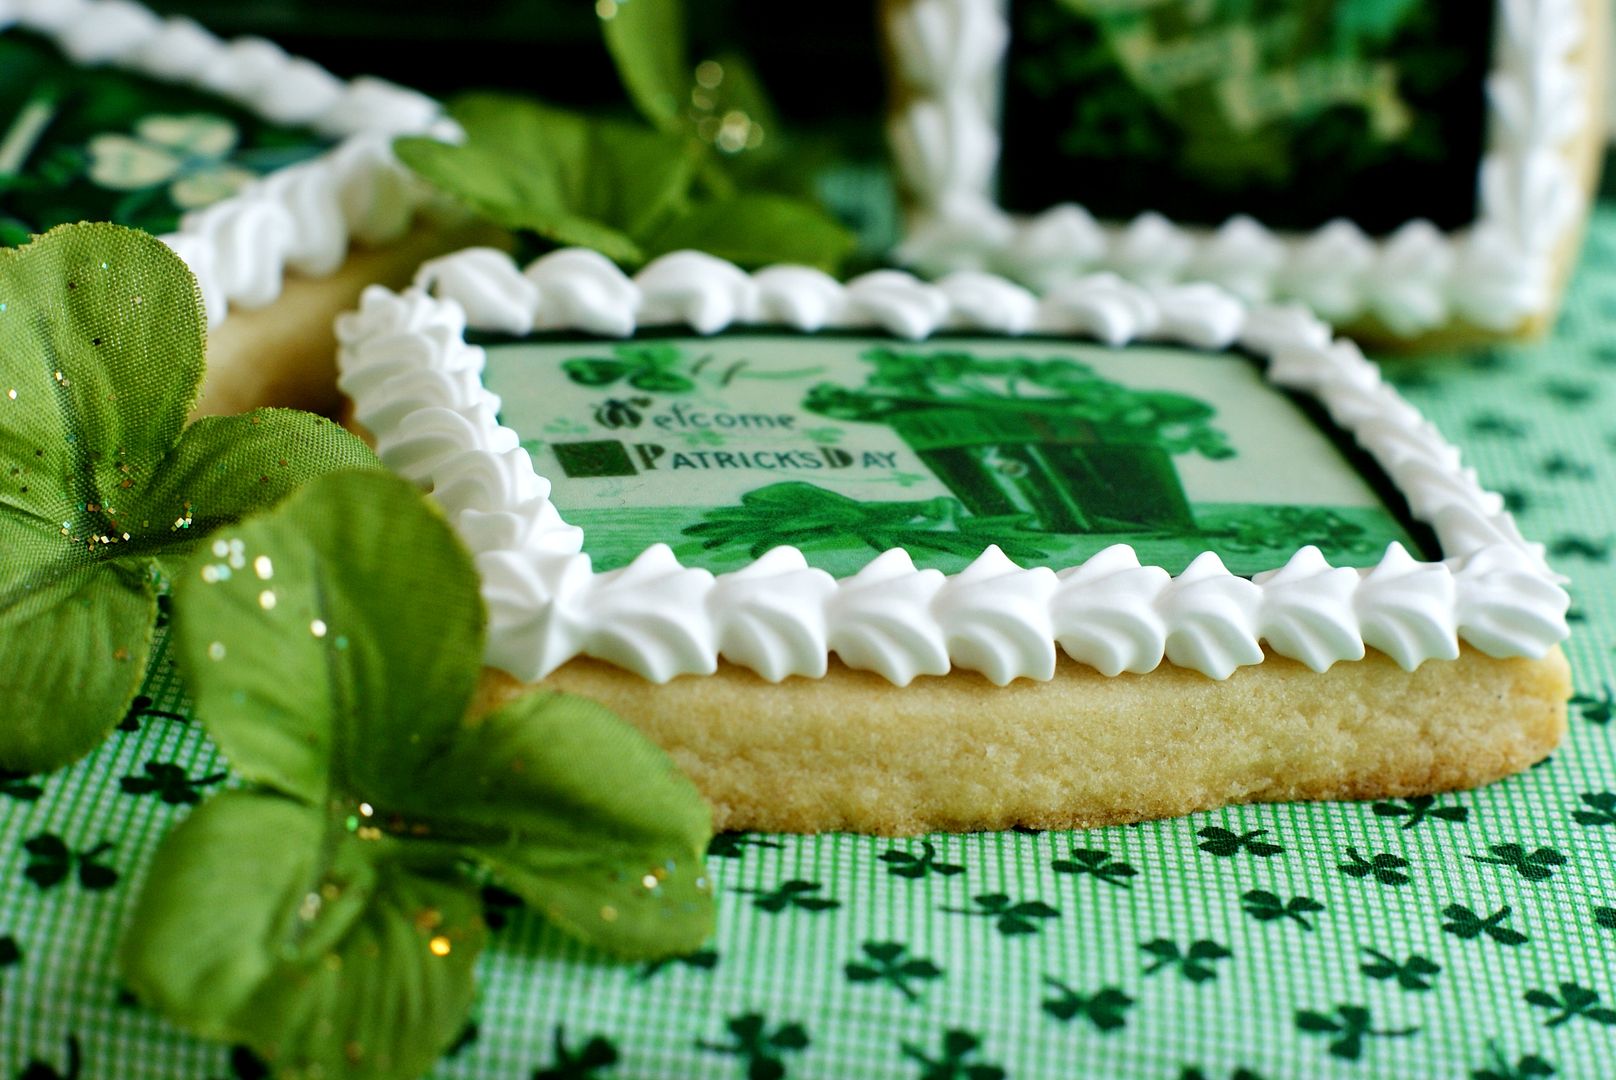
The images were just placed on wet royal icing.  I used a #16 star tip and stiff royal icing (piping consistency) for the edges.

Have fun!  And may the luck of the Irish be with you....and your icing printer! ;)

Tuesday, March 8, 2011

Tips for Edible Images, Icing Printers & Frosting Sheets . . . Works for Me Wednesday

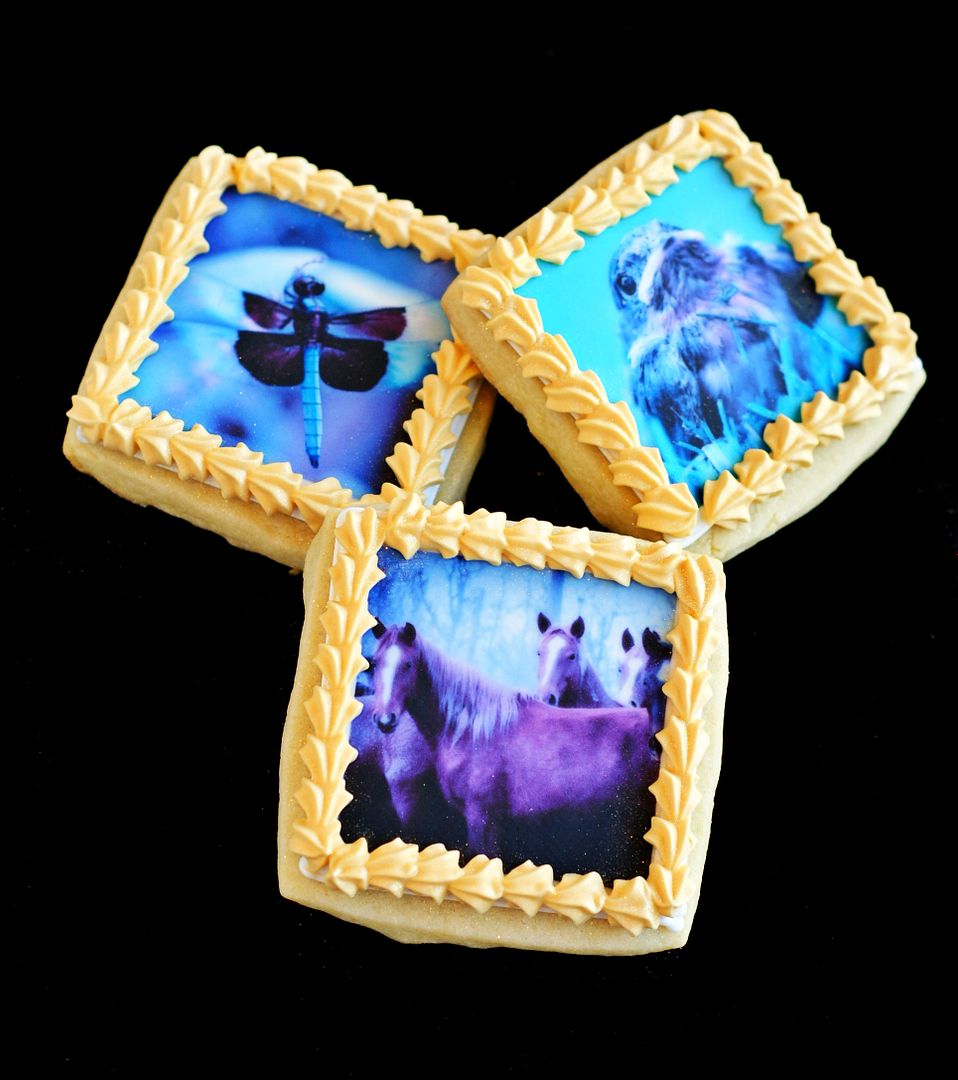
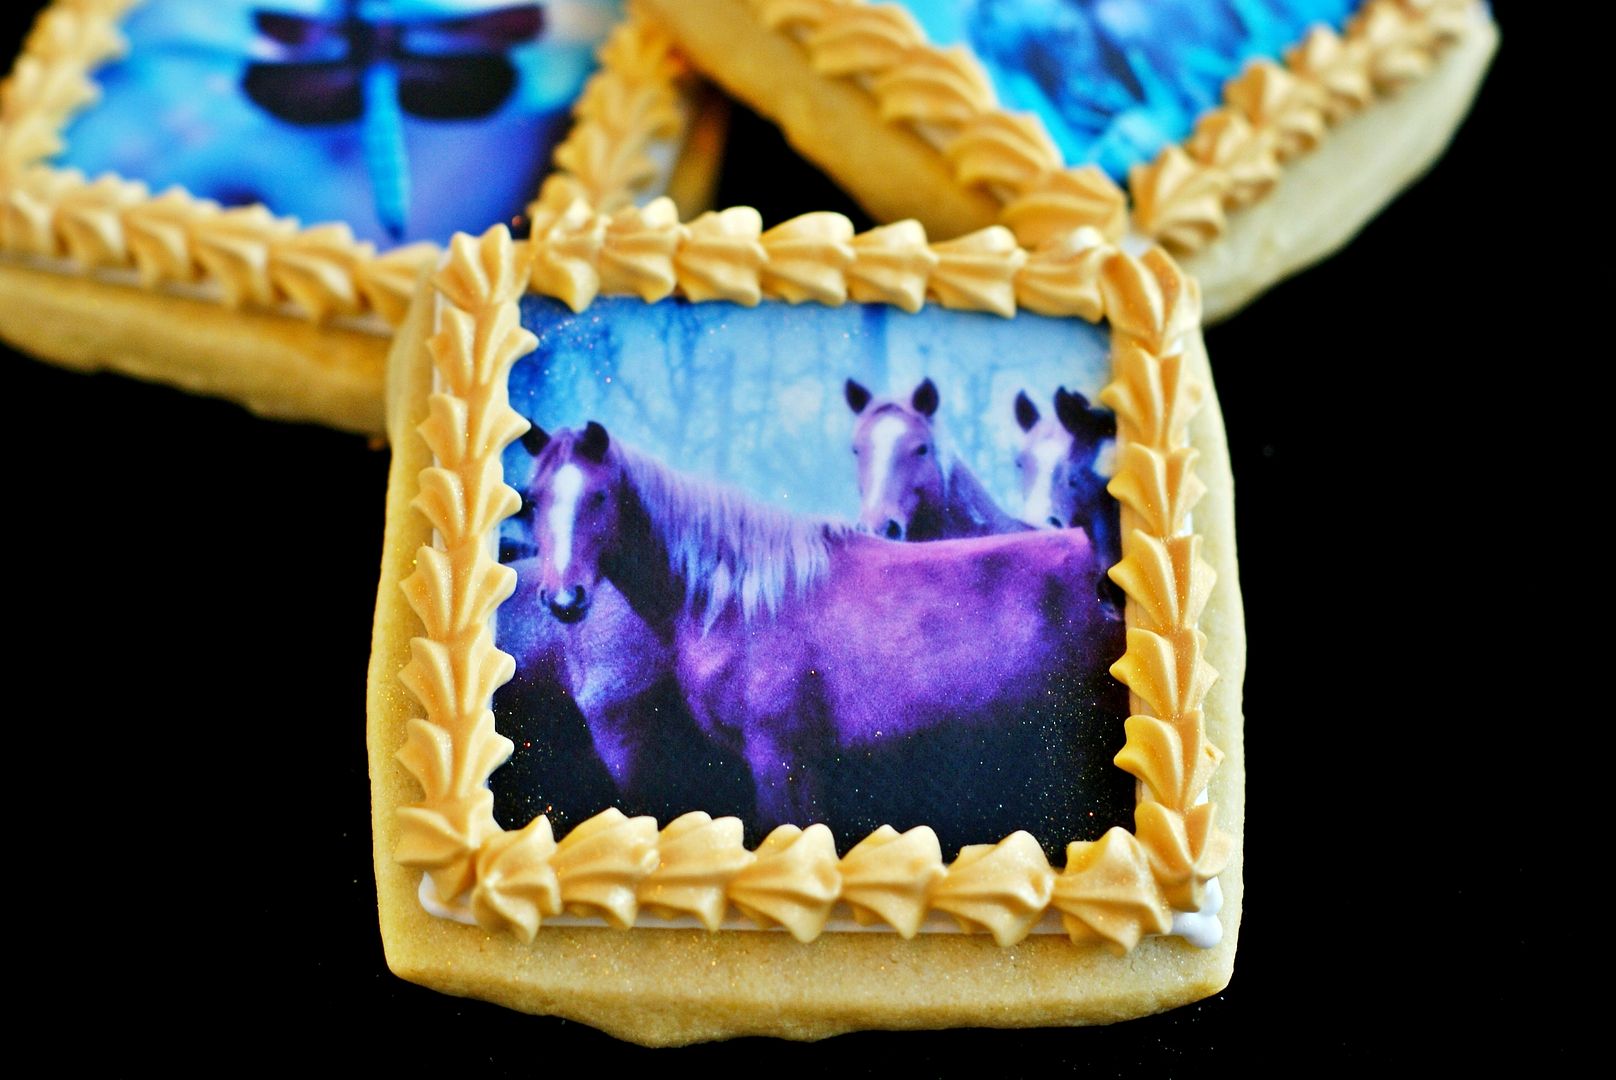
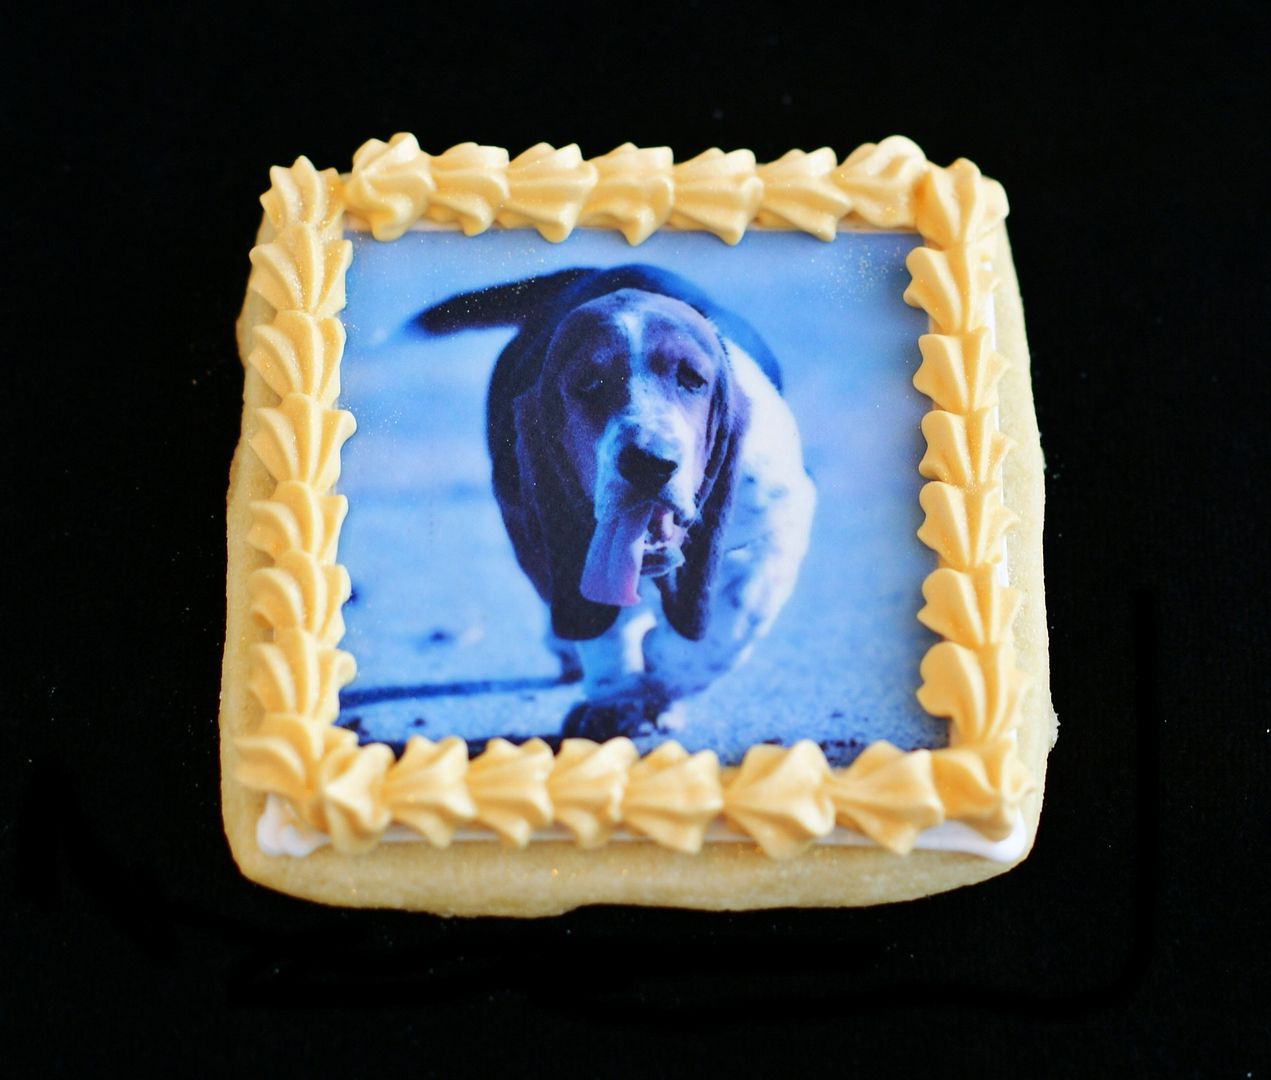
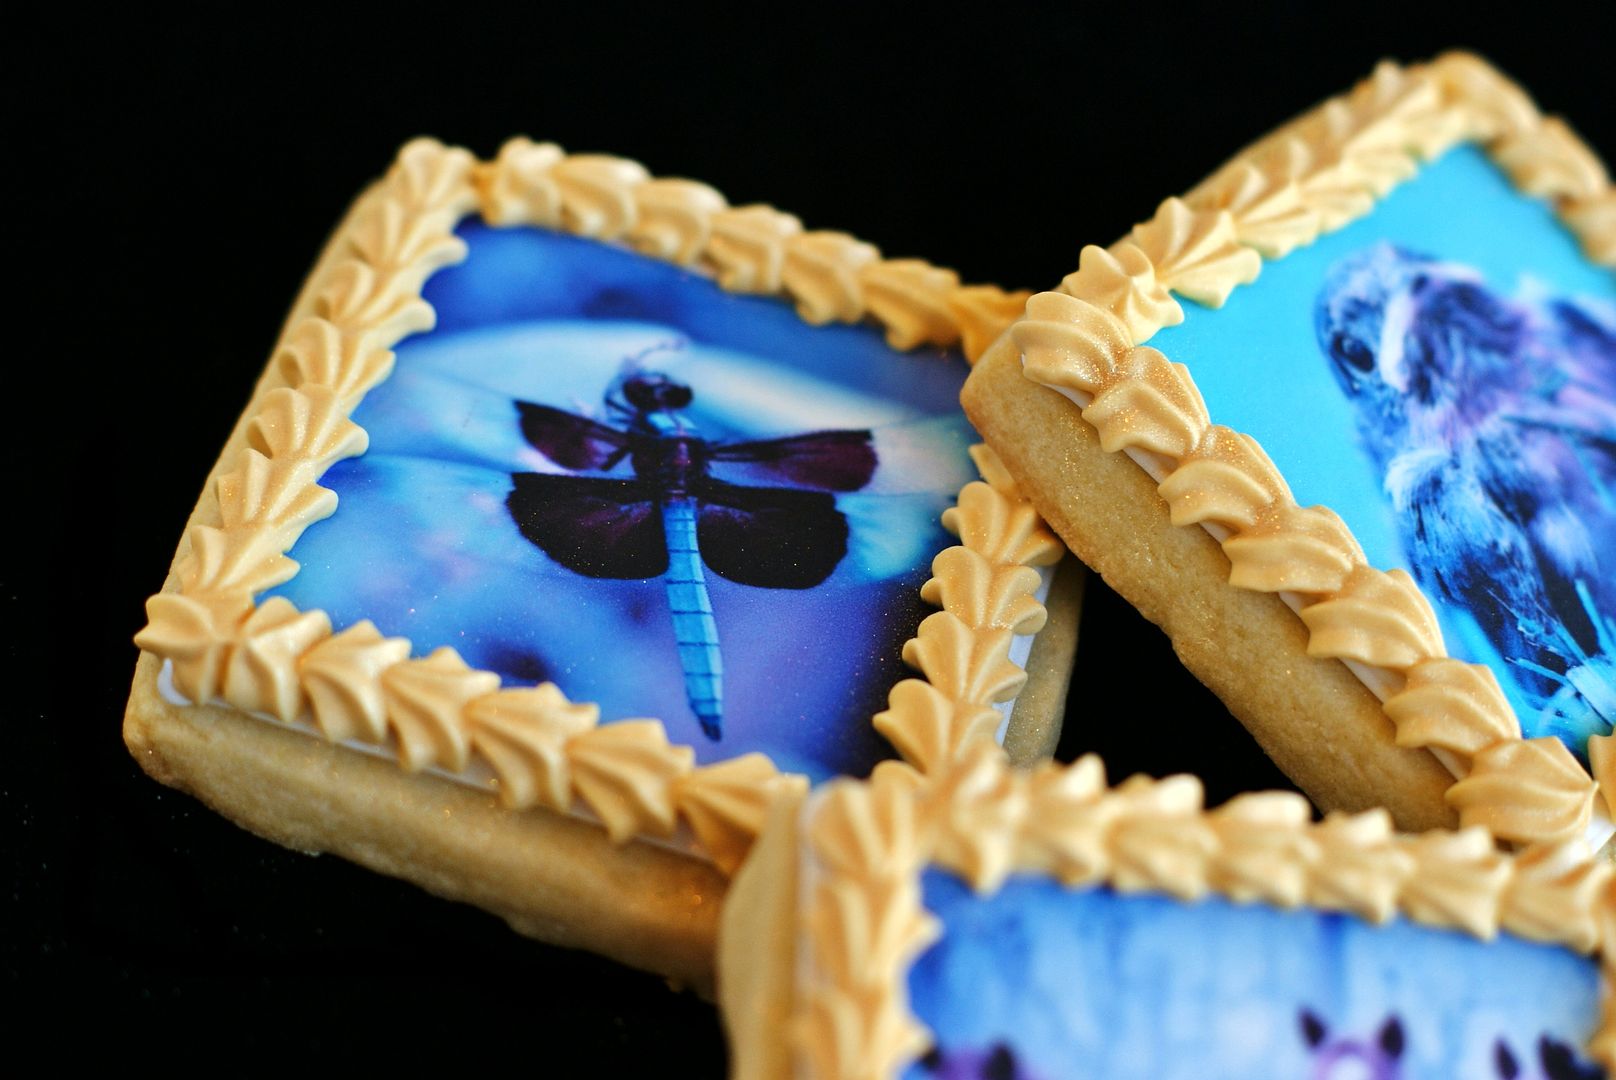
Last year, I bought an icing printer.  It hasn't been all sunshine and lollipops, but it has been kinda fun.  Here are a few of the cookies I've made using it:


First, let's talk about the printer itself.  You can go one of two ways....
  • buy a printer specifically made for icing printing, like the one sold here,
  • or, buy a NEW printer that is compatible with the food coloring "ink" cartridges.  (A list of those printers is here.)
I bought one of the compatible printers.....I chose an Epson WorkForce 30.  (I bought it from Amazon.)

Next, let's talk "ink."  Food coloring cartridges are, well, expensive.  Go to the list of compatible printers and find the edible ink that you need.

The ink for my printer is $90.  Yes, $90!  How long does it last?  Well, it depends.  Depends on the images printed, how much ink is wasted cleaning nozzles, running print checks, etc.  My guess is, you can get 30-40 pages out of a full set of ink.

The best tip for the ink that I've found is to refill is with these ink refills They are $10 a color and are SO nice to have on hand when you realize that you're out of magenta and your printer won't work without it.

{Refilling the tanks can get messy and I won't pretend I know any tricks to doing it, other than batting your eyelashes and seeing if you can get your hubby to take over.  Worked for me.}

Getting ready to print:

Scan your picture or save it on your computer.  Use a photo editing software (I like PhotoScape) to crop it to the size of your cookie cutter.  The easiest way to do this is to view the image at 100% and hold your cookie cutter up to the screen.  I like to make my images just a tad smaller than the actual cutter.

Put as many pictures as you can fit into a Word or Open Office document.  I typically get 6 per sheet, of course, you'll get more if your cookies are smaller.  The frosting sheets have a printing area of 7.5 x 10".

BEFORE PRINTING:
  • Run a nozzle check of the printer.
  • If any colors are not printing, run the print head cleaning (you may need to run it twice).
  • If one of the colors is still not printing, turn off the printer, remove the specific color and swab the nozzle with a damp QTip.
  • Print a test page on a plain sheet of paper.  (Once you see that it is printing correctly, you can cancel the print job to keep from wasting ink.)
 
Now, print the image/s onto the frosting sheet

There are a few ways to apply the sheets.  (And, I'm only talking cookies here, not applying to cakes.)

Once printed, I find the sheets a little easier to work with if they have "aged" a little.  Now, this could be because I live in a really humid area, I don't know.  But, when I've tried to used them immediately, I have had problems with tearing.

So, if I'm using them right after printing, I leave them out on the counter for a bit....at least 15 minutes to dry out.  You don't want to leave them out too long, or they will become brittle.   If I'm not going to use them the same day, I store them in a gallon-sized baggie.  Then, before using, I'll cut them into the size needed and let them sit out while I prep the cookies.

Method #1 (my favorite): Prepare the images by cutting the size needed, set aside. Outline and fill the cookie with royal icing.  While the icing is still wet, remove the backing from the frosting sheet and gently place on the cookie.  Pat the edges and corners down.  This may make up to 48 hours to dry.

Method #2 (I used this method on these St. Patrick's Day cookies):  Prepare the images by cutting the size needed, set aside. Thin piping consistency royal icing with water until it is loosened.  It should not be runny, just easily spreadable.  Remove the backing from the image and gently cover the back with the loosened icing.  Adhere to the cookie.  Because the icing is not as wet underneath, these don't take as long to dry.  (I like this method for when you don't want to add or see a border.)

Method #3 involves brushing corn syrup on the back of the image and applying it to a dry cookie.  I haven't had any luck with this method.  The corn syrup seemed to tear and stretch the sheets and the ones that didn't tear felt sticky to the touch. 

A few more tips....
  • "Hot hands" can tear the images. My hands are cold all the time....except when I decorate cookies.  If this happens to you, wash your hands in really cold water and dry thoroughly. Repeat as needed.  I also will take the ice pack for kiddo's lunchbox out of the freezer and hold onto it for a while.
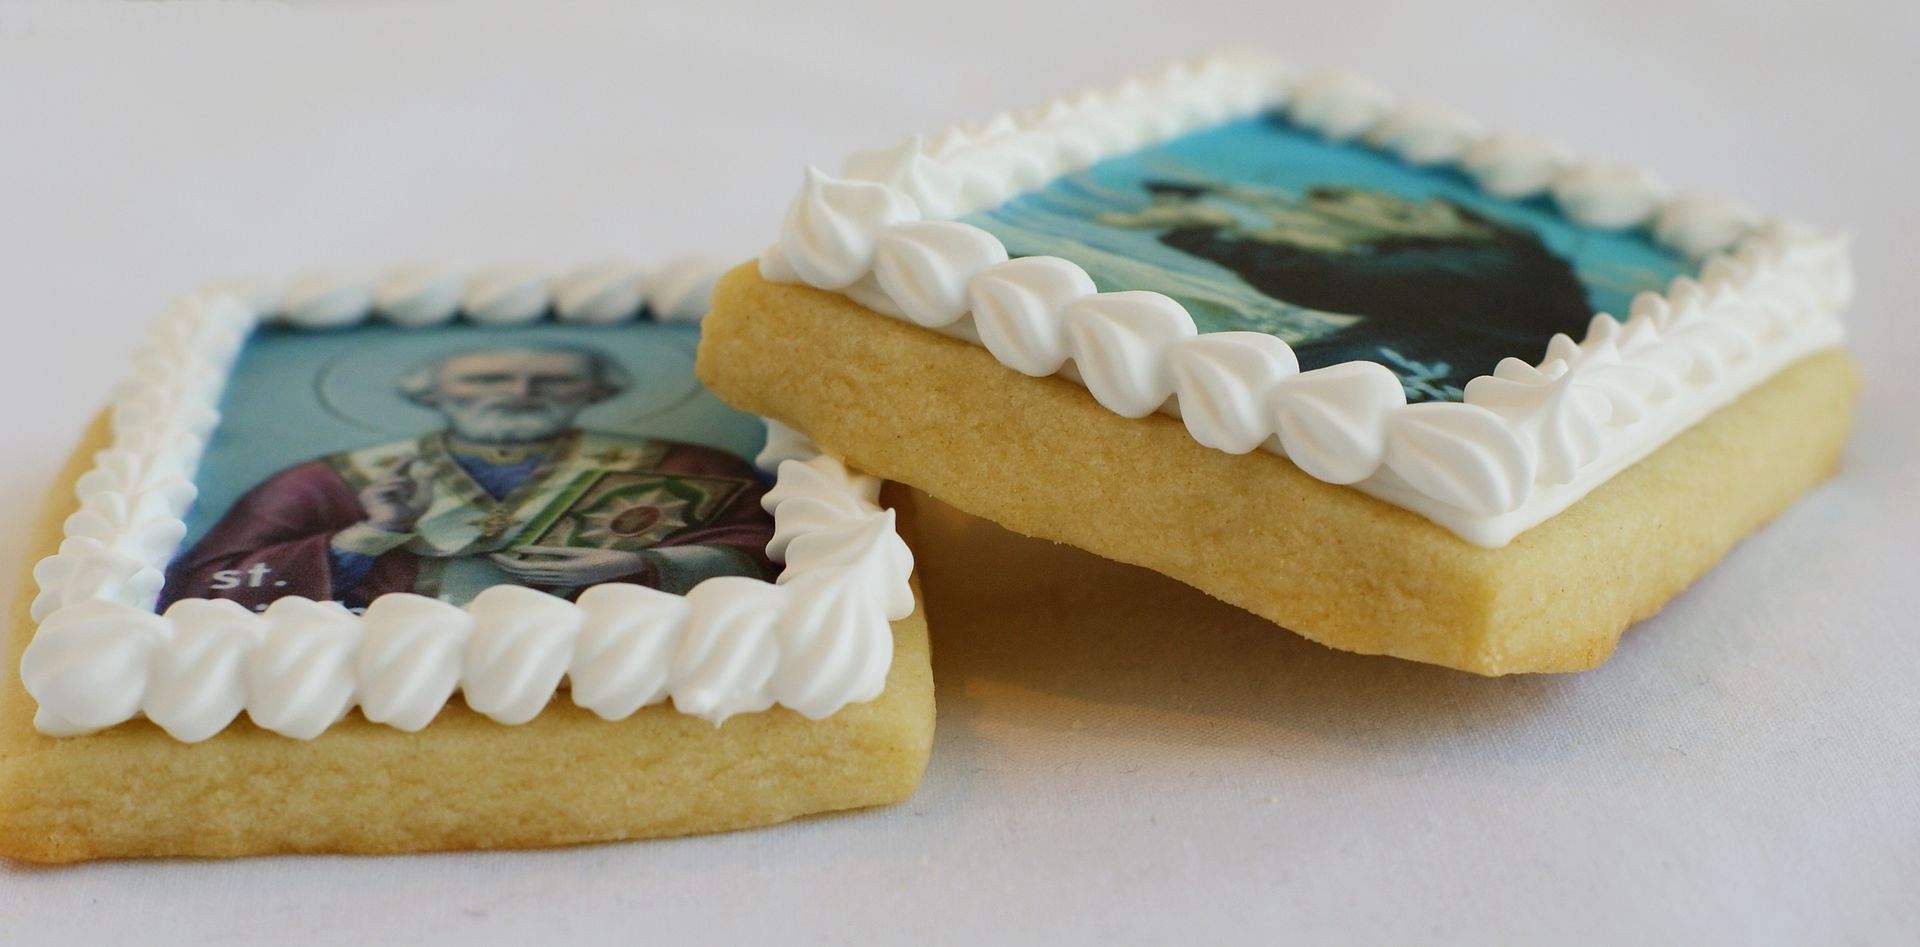
  • A piped or sprinkled edge is a really nice way to finish the cookies or hide uneven edges.  I love a #16 star tip!
  • Use your printer once a week....even if you don't need to...to help prevent ink clogging.
  • Wait AT LEAST 24 hours before packaging. Tap gently on the image to see if it's dry.
  • Never use your icing printer with real ink. :)
Now, here's the real deal....would I buy one again?  I'm not sure.  It's nice to have, but the troubleshooting hasn't been fun.

If you don't have an icing printer, but want to use edible images, here's what you do.   Format your pictures and take your file on an SD card or flash drive to your local bakery supply (or even the grocery store).  Call first, but more than likely, they can print FOR you!  Our bakery supply charges about $7 per sheet.
works for me wednesday at we are that family
I'm not an expert at these edible images, so if I come across any other tips, I'll be sure to pass them along!

I know this post is LOOOOONG and wordy, so bear with me.  I want to let you know about a really neat event I'm participating in...and you can, too!

I’m co-hosting an upcoming class in the Web’s first-ever virtual cooking school, Cooking Connections, and I would love for all of you to participate! Here’s what you need to know:

When: Wednesday, March 9, at 1 p.m. ET

Where: TheMotherhood – here is the link to the page where the class will be held.

And here is the registration page for all Cooking Connections classes.

What: The class I am co-hosting is called “Sweet Treats,” and it is hosted by Julie Mastbrook (Mommie Cooks) and Kristen Doyle (Dine and Dish ). We all will be sharing our best resources for finding sweets; sweet snack suggestions and recipes for when we’re craving just a taste of sugar; and dessert recipes with kid-friendly instructions and cleanup, so your children can help you whip up delicious creations!

The class is sponsored by ConAgra and hosted by TheMotherhood.

I hope to see you there!

My other fabulous co-hosts are:

Cheryl Sousan, Tidy Mom
Kristan Roland, Confessions of a Cookbook Queen
Monet Moutrie, Anecdotes and Apple Cores
Dennis Littley, More than a Mountfull
Kim Kopp, Quit Eating Out
Naomi Robinson, Bakers Royale
Robyn Stone, Add a Pinch
Rebecca Spivack, Let It Marinate
Kaitlin Flannery, Whisk Kid
Cate O'Malley, Sweetnicks
Faith Gorsky, An Edible Mosaic

Saturday, March 5, 2011

I'm Irish . . . eat your heart out.

St. Patrick's Day has always been a *BIG DEAL* in our family.  Growing up, my sister & I would come downstairs for breakfast and there was always a little green "happy" sitting at our places.  {One year, I got a green bikini. ;)}

{And, I wore this pin on St. Patrick's Day EVERY YEAR from high school through college....and maybe a few years beyond that.  Yes, I am a total dork.}


I wanted to make something a little girlie for St. Patrick's Day.  So, I went with dresses.  Every Irish girl wants to look their best on St. Paddy's Day, right?


{"Kiss Me, I'm Irish!"  Yes, I also had that pin, but went for subtlety. ;)}

The dresses were made using edible image sheets.
  •  I bought digital scrapbook paper and printed an entire sheet. 
  • Using my cookie cutter as a guide, I traced the shape onto the paper using a thin food coloring pen.
  • Then, I cut the shapes out, and...
  • ...because I didn't want icing to show around the edges of the dresses, I applied  a thin coating of royal icing, that had been loosened with just a few drops of water, to the back.
  • I attached these to the cookies.
{Now, I took some pictures of this whole process WITHOUT THE SD CARD in my camera.  Please pretend you see those pictures now. Thank you.}

Note: Next time, I would make a regular sugar cookie, not chocolate. With the thin coating of icing on the back, the chocolate does show through in places.

{But, here is a great chocolate cookie recipe to try!}
 
So, how about you?  Do you celebrate St. Patrick's Day? What do you do?

Tuesday, December 7, 2010

Cookies for P-Dub

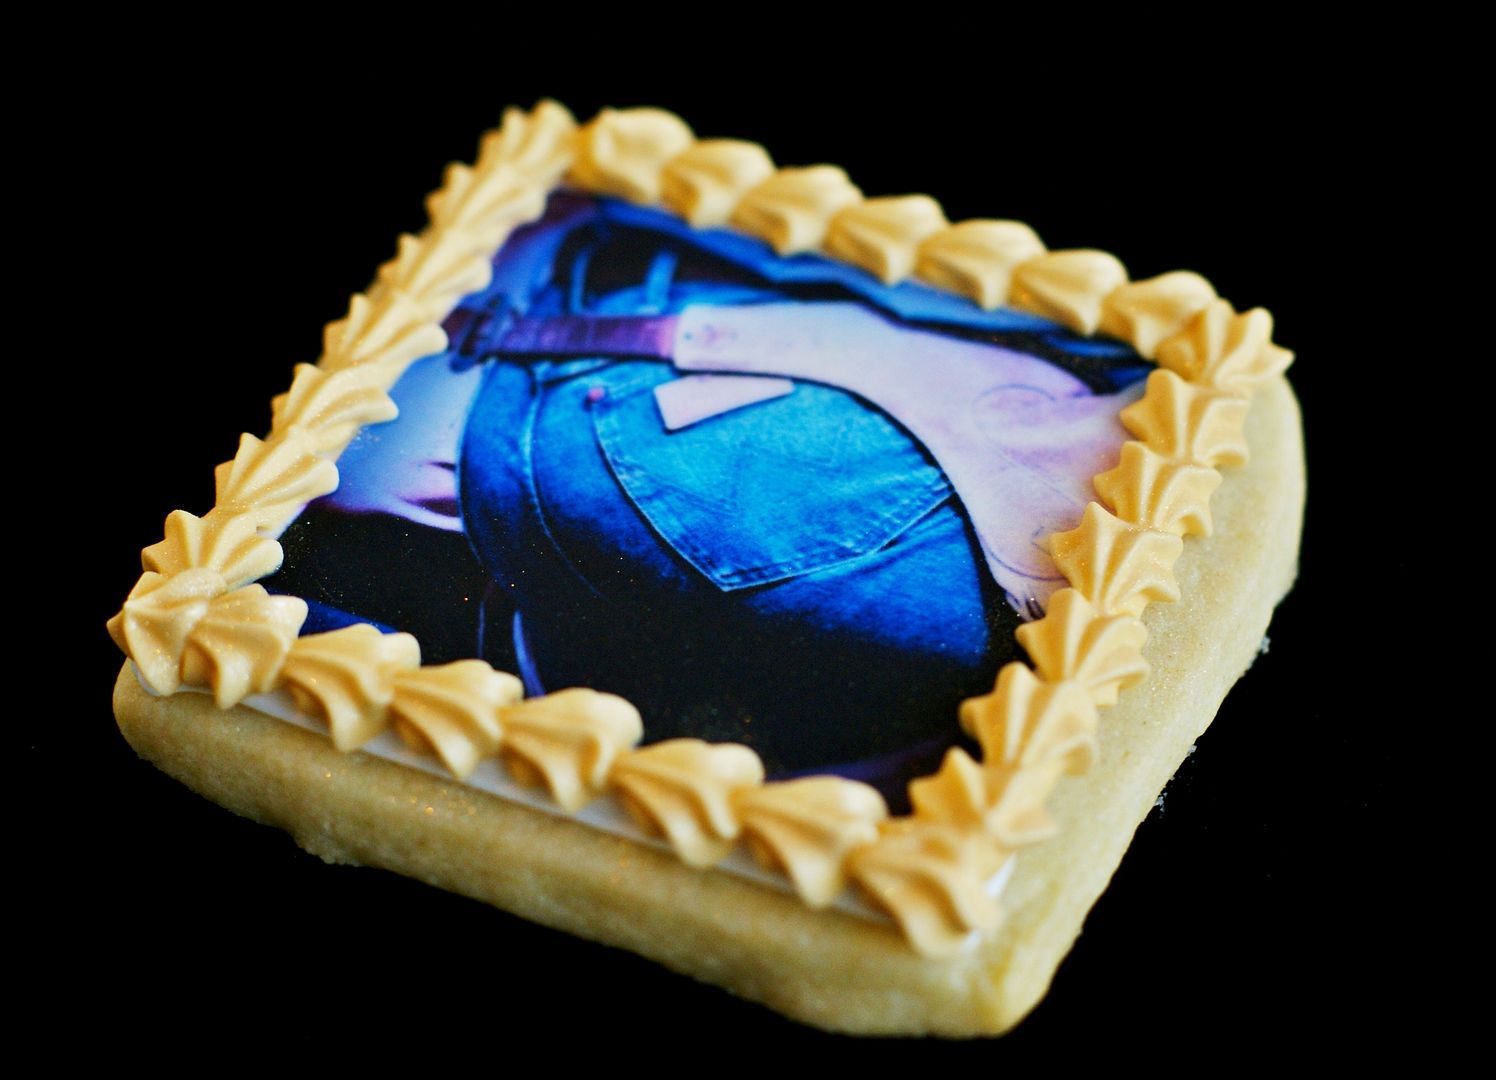
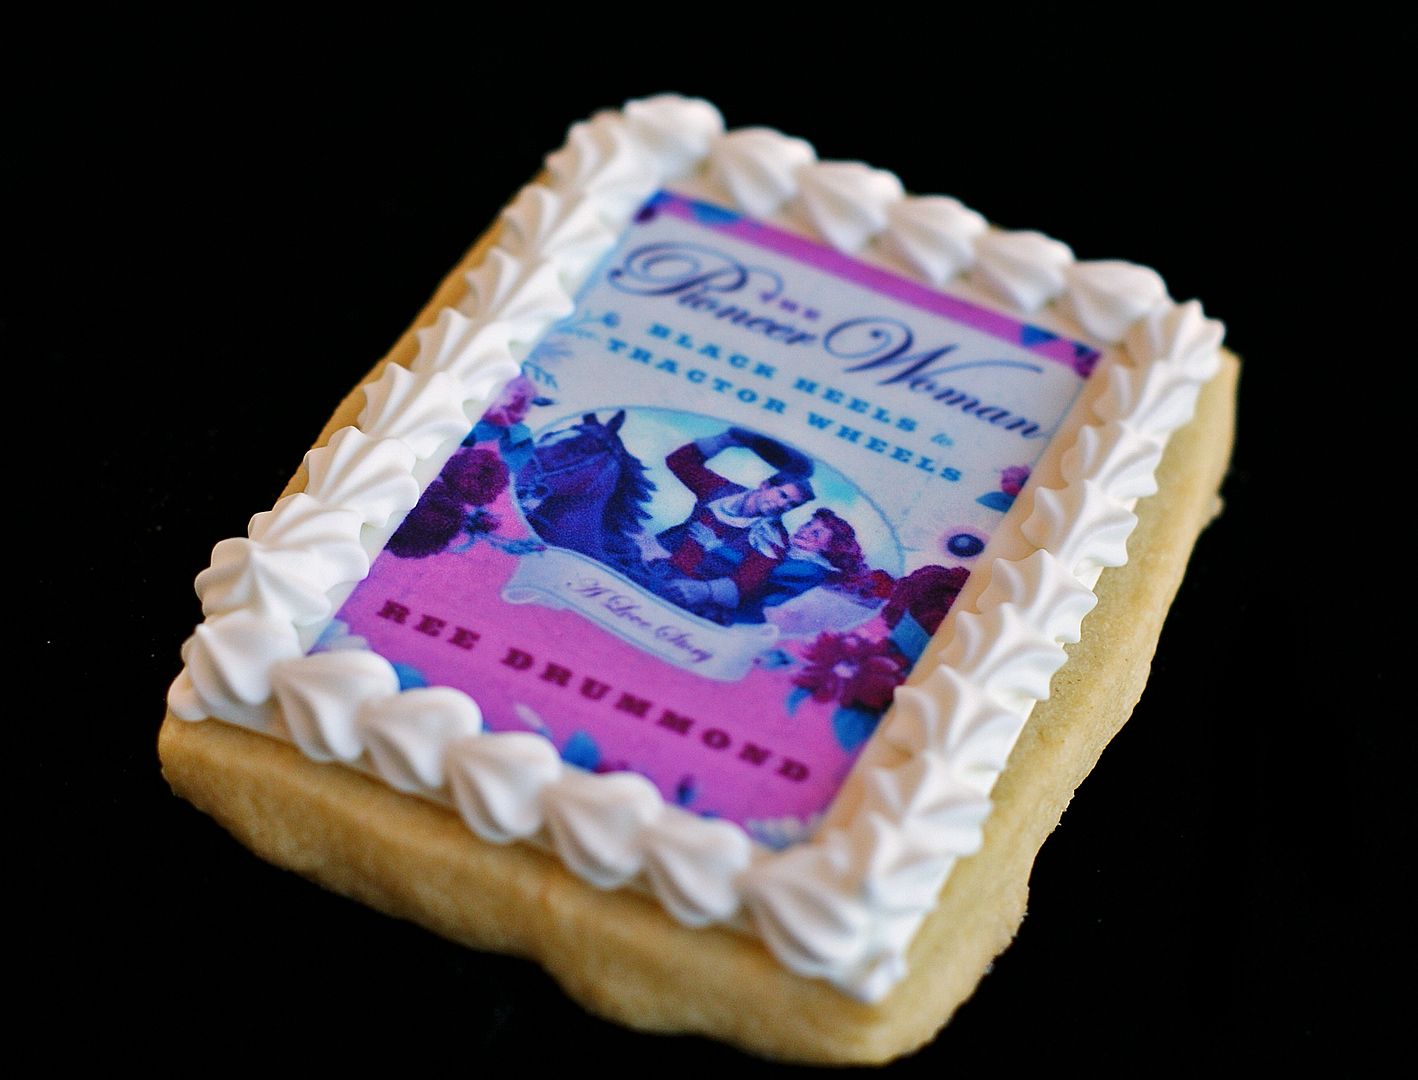
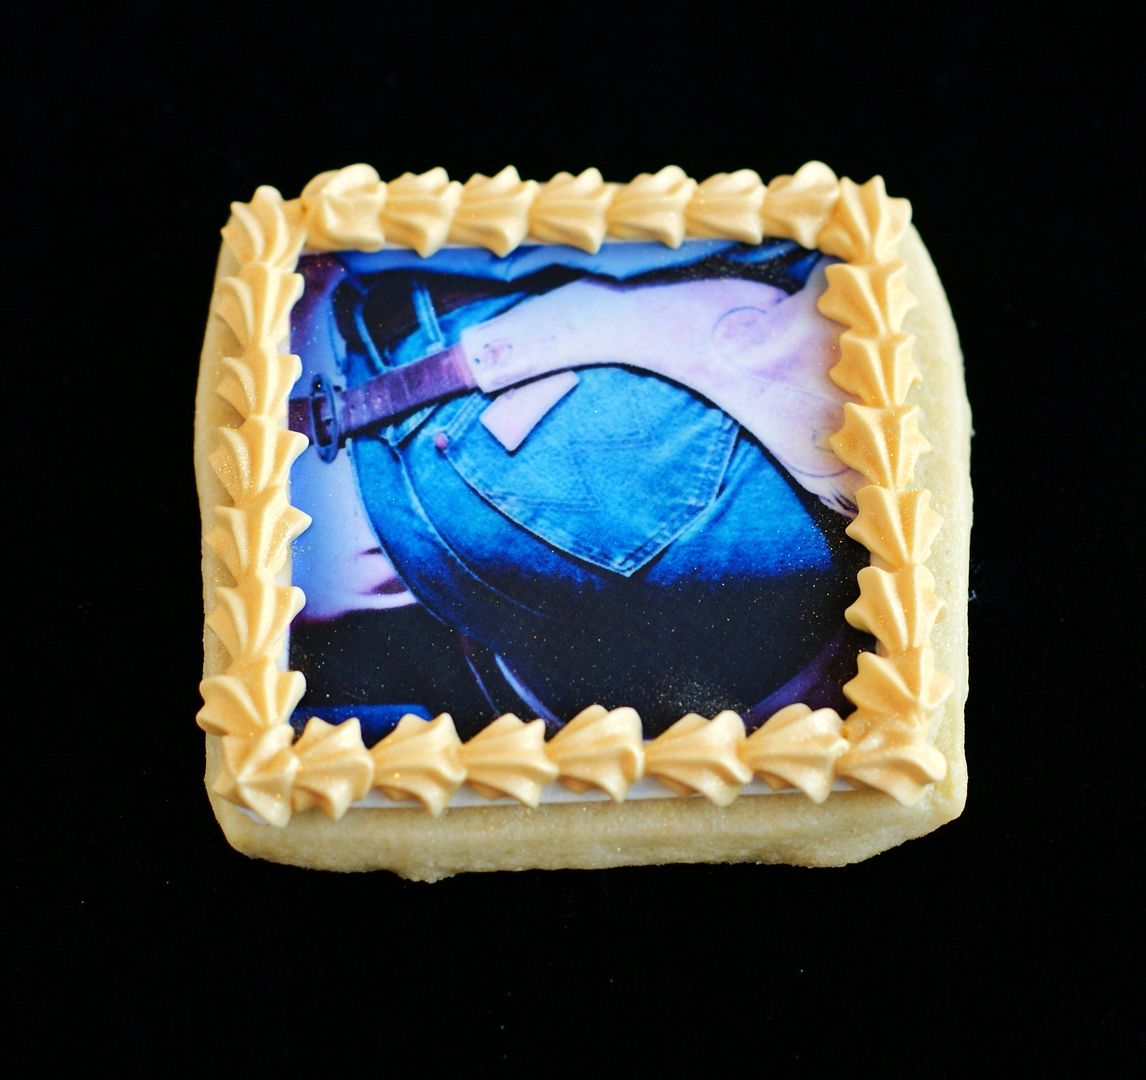
It couldn't be helped.  Ree needed a Wrangler cookie.

I wanted to bring Ree a few cookies, so I went through her Flickr stream and picked out some images to print on frosting sheets.  There were only a few thousand that I wanted to print.
Yes, the color is off.  Despite printing out a test page...on regular paper, my frosting sheet images were didn't look quite right. My guess is, in the 30 seconds between the test page and the frosting sheet, the yellow ink tank got clogged.  And wouldn't you know that the day I was making cookies to bring to the PIONEER WOMAN(!), I had no extra frosting sheets.
Curious about edible images? KopyKake has a listing of all of the printers compatible with food coloring ink cartridges.  Be sure to use a NEW printer :).  I have an Epson WorkForce 30.

Once you have the printer, ink and frosting sheets, applying them is easy.  Here is the set up....
 

Format, print and cut.  Remove the images from the paper backing and place directly onto wet royal icing.  As it dries, the edible image will "melt" into the icing.
For a border, I love using a #16 star tip.  For these, I used Gold AmeriColor Food Coloring and when dry, brushed on a little gold luster dust.  I was hoping the border would look like a little frame.

Did you know that Ree has a new book coming out?  It's called Black Heels to Tractor Wheels...and I'm thinking we need a book club....with wine, cheese and cookies!  Who's in?

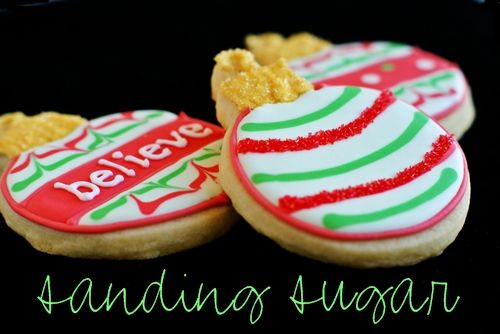
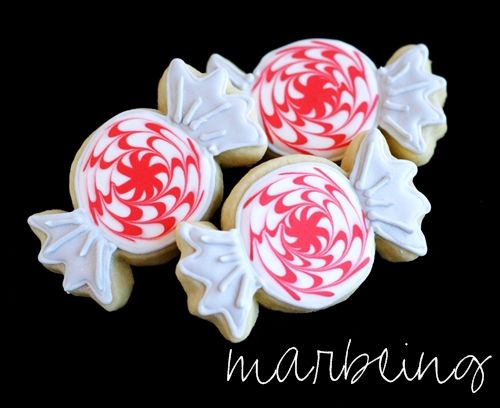
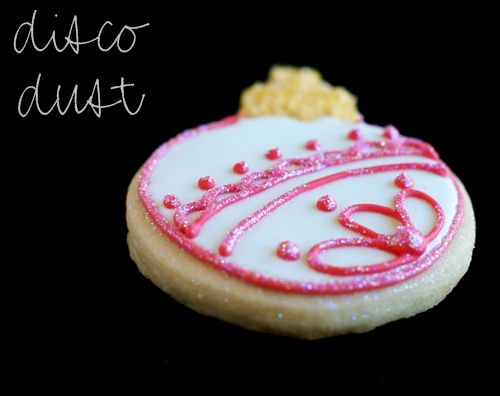
Along with those, I brought along a few cookies for the cookie class for examples.

There was sanding sugar....

And marbling....

And even a little disco dust....


But, these....these were the ones I couldn't stop giggling over.
 
So much so, that as I headed into the airport on the way to Oklahoma, Mr. E shouted out, "No taking pictures of WRANGLERS!"

Sunday, October 31, 2010

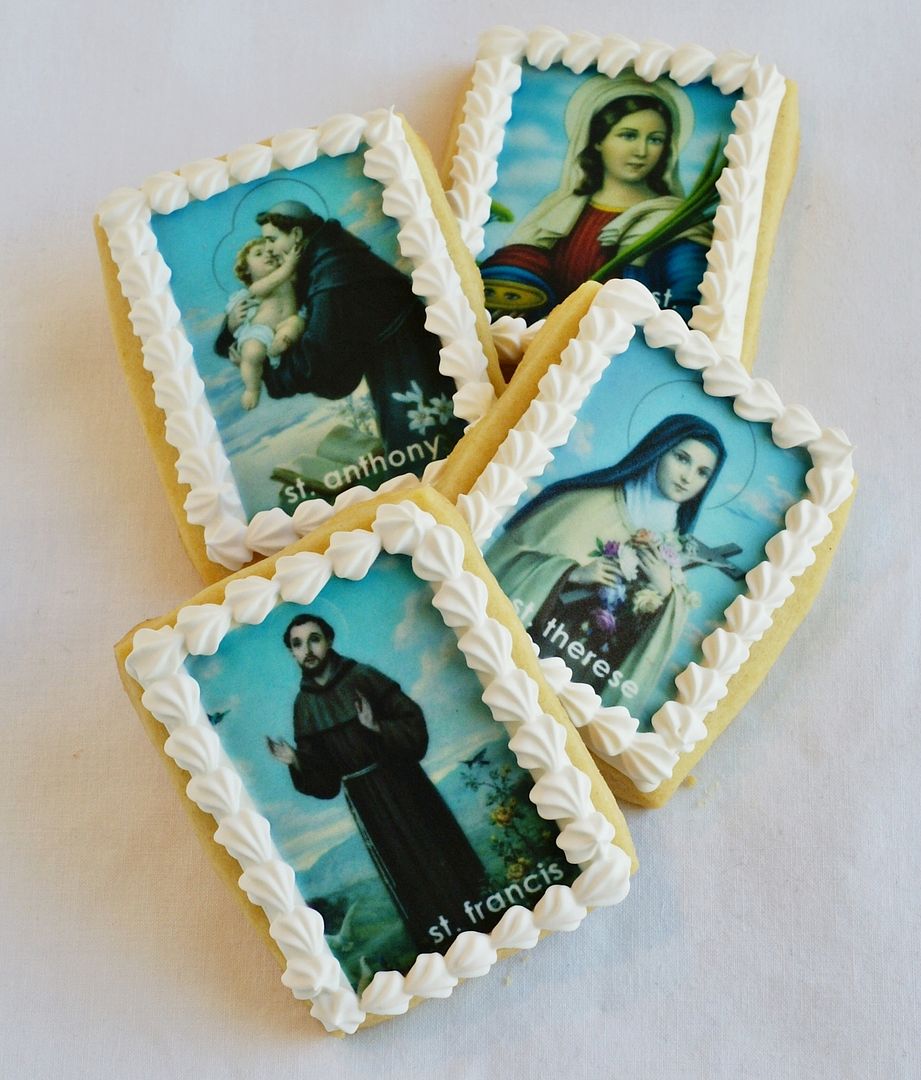
All Saints Day Cookies

To be honest, this was one of the main reasons I bought an icing printer.  Saint cookies have been on my mind for years now.

If you don't have an icing printer, don't worry.  Scan the images you want, format them to fit your cookies and take your file to the grocery store bakery or local bakery supply shop to have your images printed.

These are going to kiddo's teacher.


Here's what you need to make them:
  • cookies
  • an awesome aunt who is sweet enough to scan and email you a zillion saint cards
  • frosting sheets
  • white royal icing
  • #2 or 3 tip and #16 star tip

The cookies look cute plain, but I really like the something extra a little piping adds to them.  I added the border with a #16 star tip.

Did they all turn out perfectly? Well, no.

You might recognize the guy on the left.

St. Marguerite.  When my Nana traced our family tree she found we were related to her.  Which is obvious given my saintly nature.

My favorite saint?  St. Bridget (or Brigid), for obvious reasons.  BUT, when the priest who married us gave me a copy of this prayer attributed to her, well, it sealed the deal.  It's a must read.


Here's St. Lucy...
Yes, those are her eyes on a platter. You guys, the saints are interesting!!!

Do you have a favorite saint?

Friday, September 24, 2010

Lucy in the Sky with . . . Polka Dots

Usually when I use my icing printer, I format the image to the size I want before printing.  I decided to play around with something new and print out a patterned page frosting sheet and cut it to fit my cutters.

Some of you have asked....my printer is an Epson WorkForce 30 Color Printer ; it is compatible with the food coloring cartridges.  You can find a list of all the compatible printers from KopyKake.  The printer itself is pretty affordable; it's the ink that is expensive....$90 for the set.  {That's why it took me so long to order one!  It was a major dent in my Starbucks fund.}

First, I ordered some digital paper from etsy.  Oh my gosh, there are SO many cute designs available!  I think I now have 100 digital papers in my arsenal.

{The smart thing would have been to TRY my idea before buying all of them, but I got a little carried away.}

Second, I printed the image on a full sheet of icing paper.

Third, using a food coloring pen, I traced the cookie cutters I used and then cut the icing sheets.
Forth, the cookies were outlined and filled with white royal icing.  While the flood icing was still wet, I applied the icing sheet.  It's not a perfect fit, so....

Fifth, after the cookies were dry, I went over the borders and added piping.

Do I love my icing printer?  Yes.  

But here's my problem with it...and maybe somebody can help me. 
The original image was this:

It looks so different on the cookies.
But, when I made these cookies, the colors stayed pretty true.  I'm so confused.


Tidy Mom I'm Lovin It Fridays

Anyone have experience with this they'd like to share?

Friday, August 13, 2010

Wow! Wow! Wubbzy! COOKIES!

It wasn't until a few weeks ago that I even learned what a Wubbzy was (I'm old). My cousin's little girl, Violet (don't you LOVE that name?), was turning 3. Her party was Wow! Wow! Wubbzy! themed and she needed Wubbzy  cookies.

To tell you the truth, I was a little crushed that kids weren't watching Blue's Clues anymore. You see, Steve and I had a relationship. Some days, he was the only adult contact I had until my husband got home...and he and I became *thisclose*.  (Then he left and they brought Joe on board, who might have been cuter, but didn't have Steve's charm. But I digress.)

Back to Wubbzy....character cookies make me nervous. Just look at Batman. So, I took the chicken's way out and used my icing printer.

But, I think the key to these cookies is the sprinkles.

I really like edible image cookies with a decorative edge. That's probably because I never get them on exactly centered.  Here's an example of edible image cookies with a piped edge.

If you don't have an icing printer, you can usually have them printed for you at a bakery supply shop...call ahead, you'll probably need to format the image for them. I've even heard you can get them from the grocery store!

Just cut the images and peel away from the backing and place on wet royal icing.  Allow 2 days of drying time. For the sprinkles, mix equal parts meringue powder and water. Brush on the edges and sprinkle. Voila!

Happy birthday, Violet!

Now, I'm going to check hulu for my old friend Steve.